Are you eager to try your hand at creating beautiful designs on your nails but don’t know where to start?
Look no further! In this article, we’ll guide you through the basics of nail art and show you how to create stunning looks that will impress you.
Getting Started
Before you begin, make sure your nails are clean and dry. Remove any old nail polish and push back your cuticles. If you have long nails, consider trimming them to a shorter length to make them easier to work with.
Next, gather your tools and supplies. You’ll need a base coat, nail polish, a nail polish brush, a dotting tool, and a nail art brush. You can find these at most beauty supply stores or online.
Choose Your Colors
Select a base colour that you love and one or two accent colours that complement it.
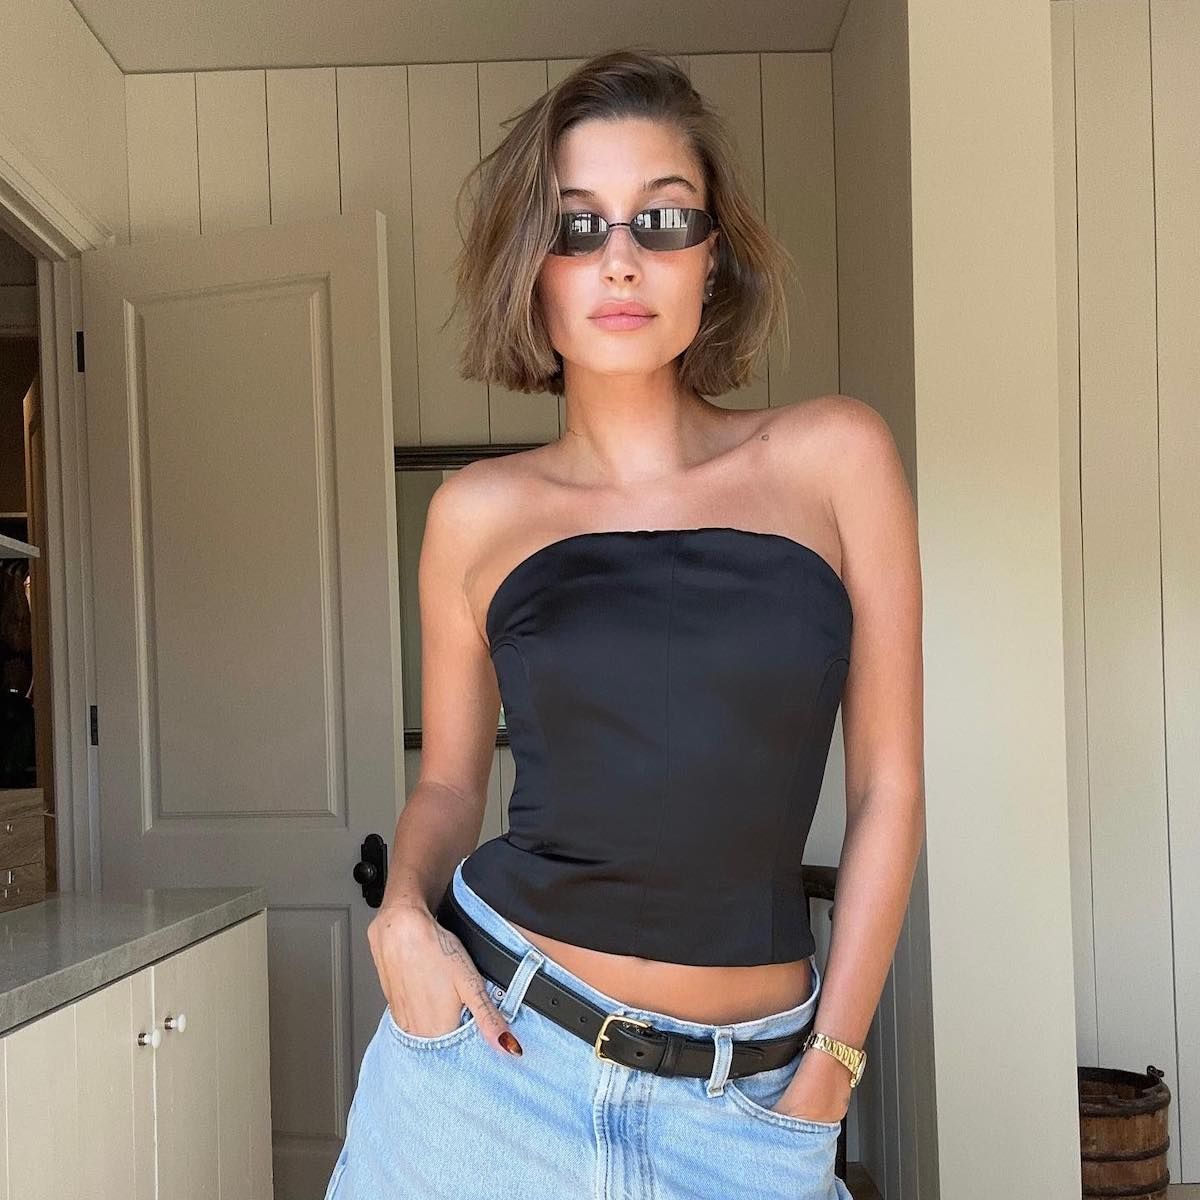
Consider the occasion and your style when making your selection. For example, if you’re going to a wedding, you may want to choose a more subtle design, while a bold and bright design may be perfect for a night out with friends.
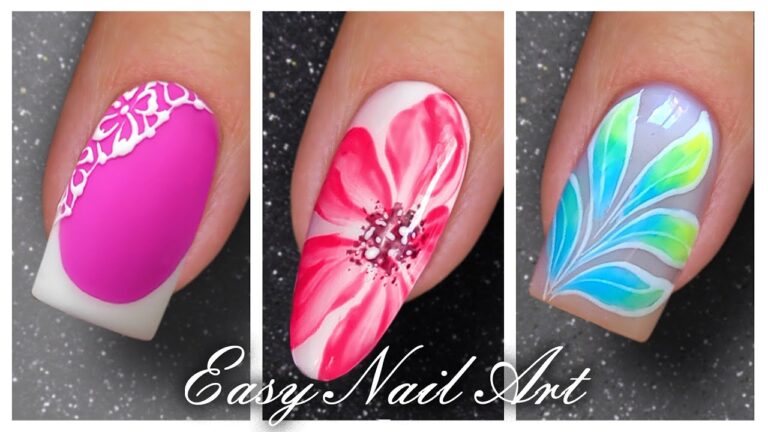
Simple Designs for Beginners
Striped Nails
Striped nails are a classic and easy design that can be created with just a few strokes of the brush. To achieve this look, paint horizontal or vertical stripes on each nail, using a different colour for each stripe.
Dotting Tool Designs
A dotting tool is a small tool with a round tip that is used to create dots and other small designs on the nail.
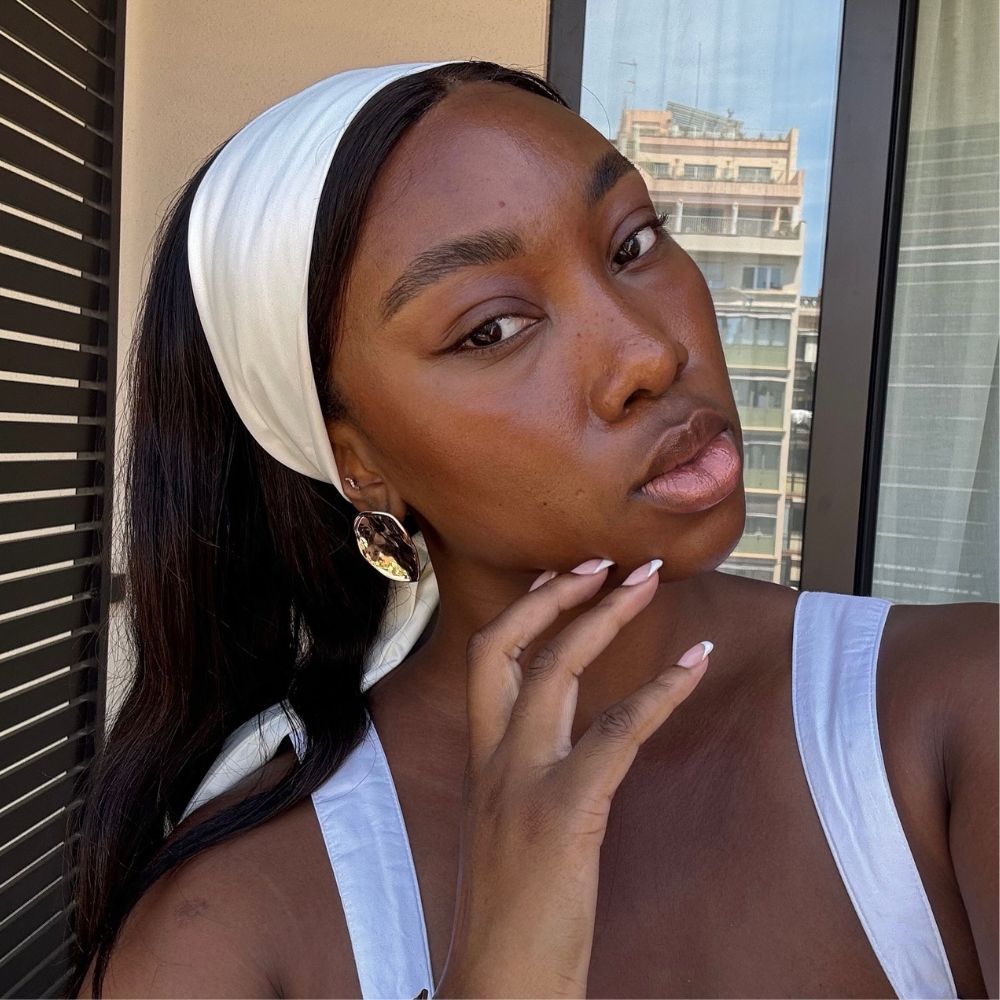
To use a dotting tool, dip the tip in nail polish and place it on the nail. You can create dots, dashes, and even flowers using this tool.
Nail Art Stickers
Nail art stickers are a great way to add a design to your nails without having to freehand it. These stickers come in various designs, from simple stripes to intricate patterns.
To use a nail art sticker, simply place it on the nail and seal it with a top coat.
Advanced Techniques
Ombre Nails
Ombre nails have a gradient effect that transitions from one colour to another.
To achieve this look, paint the base colour on the entire nail, then use a sponge to blend the accent colour into the base colour.
Stamping
Nail art stampers are small tools that are used to create intricate designs on the nail. To use a nail art stamper, paint the design onto the stamper and then place it on the nail.
Freehand Art
Freehand art is the most advanced technique in nail art. To create a freehand design, use a small brush to paint the design directly onto the nail.
This technique requires a steady hand and a lot of practice, but the results are well worth it.
Tips and Tricks
Practice Makes Perfect
Don’t be discouraged if your first attempts at nail art don’t turn out perfectly. It takes practice to develop the skills and techniques necessary to create beautiful designs.
Use a Base Coat
A base coat is essential to protecting your nails and ensuring a smooth finish. It helps to prevent staining and promotes even colour distribution.
Clean Up as You Go
Use a nail polish remover to clean up any mistakes as you go. This will prevent the polish from setting and make it easier to correct any errors.
Conclusion
Nail art is a fun and creative way to express yourself. With these easy designs and simple techniques, you can create stunning looks that will make you feel confident and beautiful.